Toys
Already available
We used a few toys that were already available at the hearing centre. Often, the toys have a push button and a power source. When the button is pushed and there is a power supply, than the toy will work. The only thing that was for us to do is make sure that the buttons is always pushed on. Than the power supply is arranged by the microcontroller discussed in the electronic part.
Hacked toy
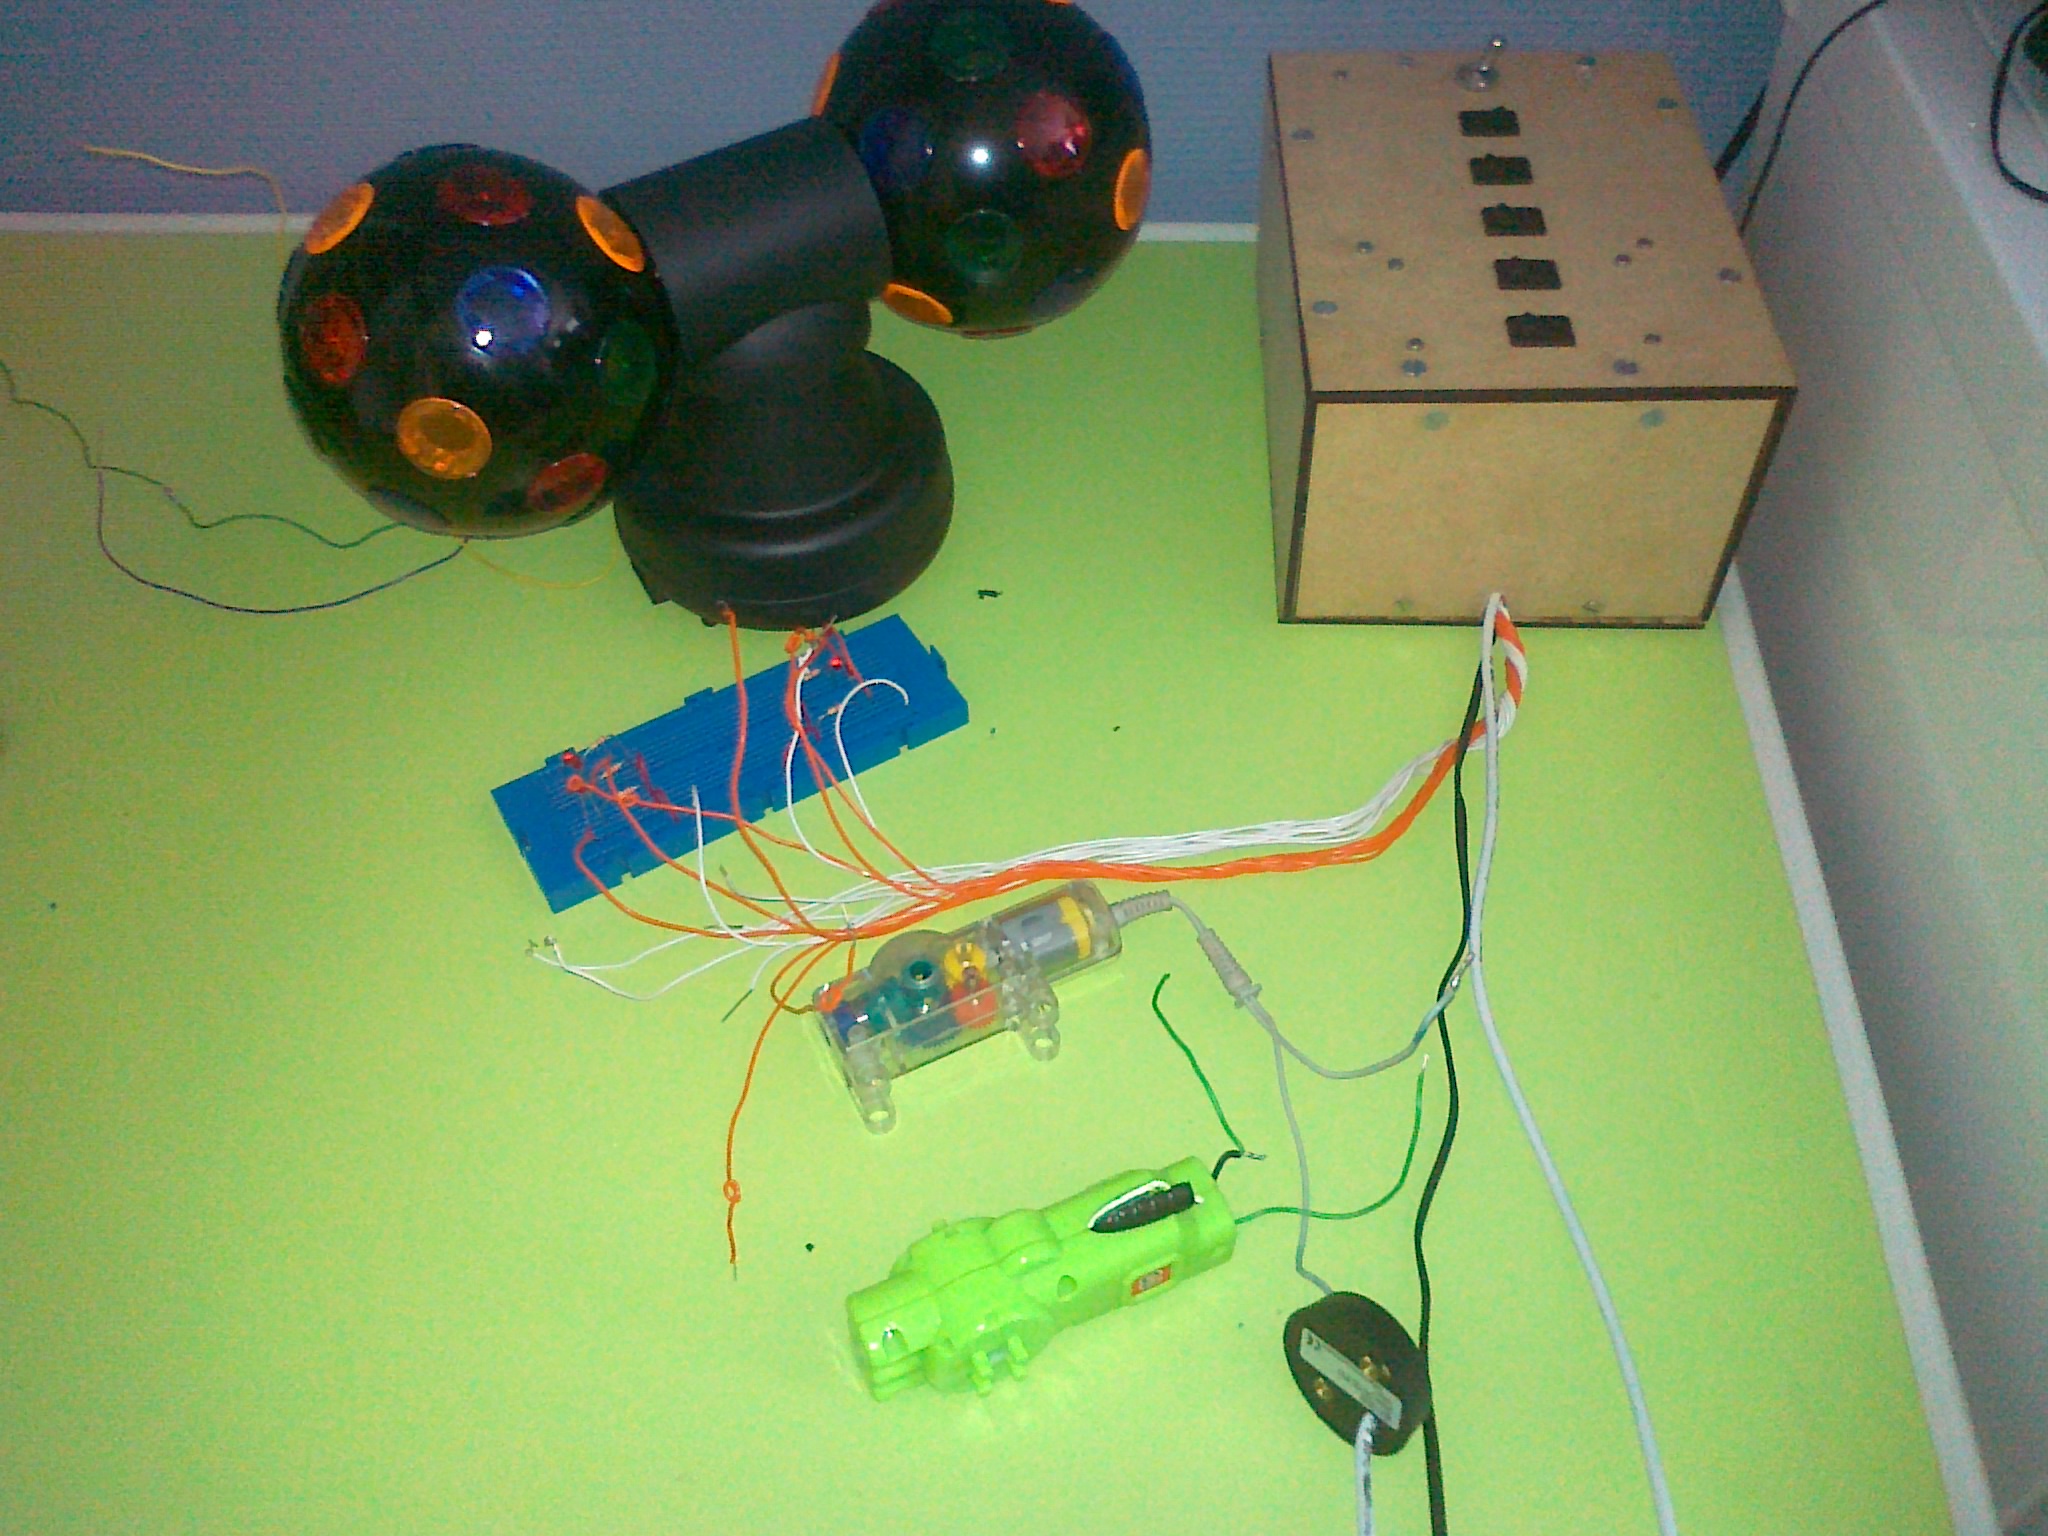
The toy that we hacked was a disco ball. This disco ball is a colorful lighting device. Once switched on, a few colors (red, blue and green) are lightened, one at the time.
The difficulty we had with this device that it worked on AC and all the other toys worked on DC. We had to find a way to make sure this would not give any problems once switched on.
We also hacked two Knex motors to control a wheel or other toys made of Knex elements.
Self made toy
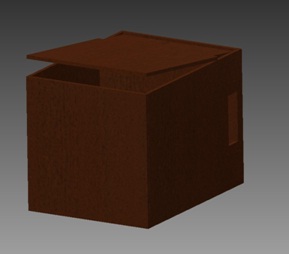
One of the toys the test center in Antwerp wanted was a jack-in-the-box. Because we could not find this toy we decided to make one ourselves.
The traditional jack-in-the-boxes work in the following manner. When you turn a handle a music will be heard. After a while a doll will pop out of the box. We want the toy to be activated electronically. We also want the doll to pop up when the foot switch is pressed. Otherwise it could be the child doesn't watch anymore. After the doll popped out the doll will need to go back to its initial position.
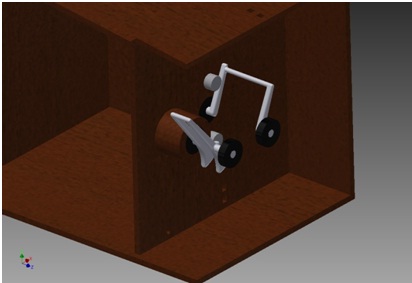
To fulfill these requirements we will use a bistable mechanism. In one position the box will be closed and in the other open. The switching between the two positions goes very fast. When we put the current on, an engine will turn. The engine is connected to a disk that will turn around. At the end of the disk a spring is connected. The other end of the spring is connected to a rod. Because the engine is turned on the rod will flip between 2 positions. This means that, when we activate the toy, after a limited amount of time, the toy will open and close while the pedal is pressed. According to the speed of the engine the box will open and close faster. We don't want it to go to fast otherwise it can be hard to see the doll. It also can't go to slow because otherwise it may be that the child isn't watching anymore.
We looked at the equations of motions we see that there are a lot of free parameters. We put this equation in a MATLAB program to calculate the most efficient configuration. Once we have this we can make a 3D drawing of our box. The bistable mechanism is constructed so that there is almost no friction.
We started building the toy but didn't finalize it because of a lack of time.
Realisation
Finally we finished the box of switches with all the connections to the toys.
Videos
The first video shows the toys activated on the left side of the setup. By pressing the footpedal, one toy is being activated randomly.
The second video shows the toys activated on the right side of the setup. By pressing the footpedal, one toy is being activated randomly.
The last video shows toys connected to the right side of the setup. In the beginning the person that monitors the child makes a choice of the toys that he/she wants to be activated.