
The electrical design cosiders 3 major tasks:
- Provide power where needed
- Get a microprocessor in contact with actuators, LCD screen, buttons and other devices
- Figure out a way to manage the limited number of pins
We choose to work with the Arduino Uno which is a microcontroller board based on the ATmega328. The major advantage of the Arduino Uno concept is the fact that its Open source. Tons of libraries and helpful forums can be found around the web.
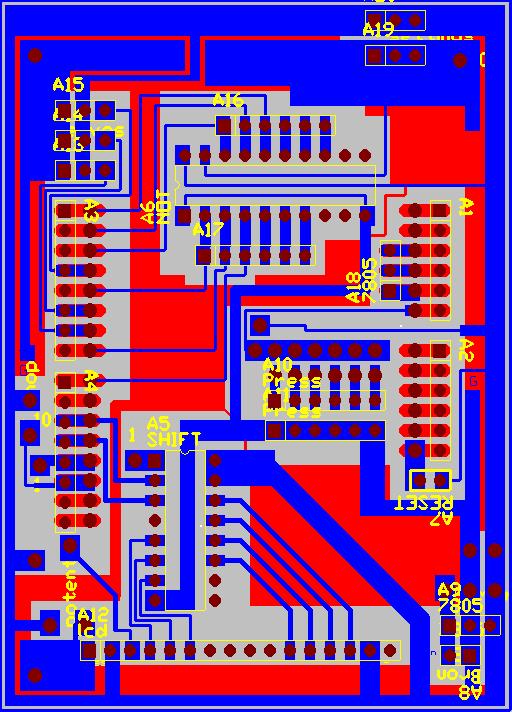
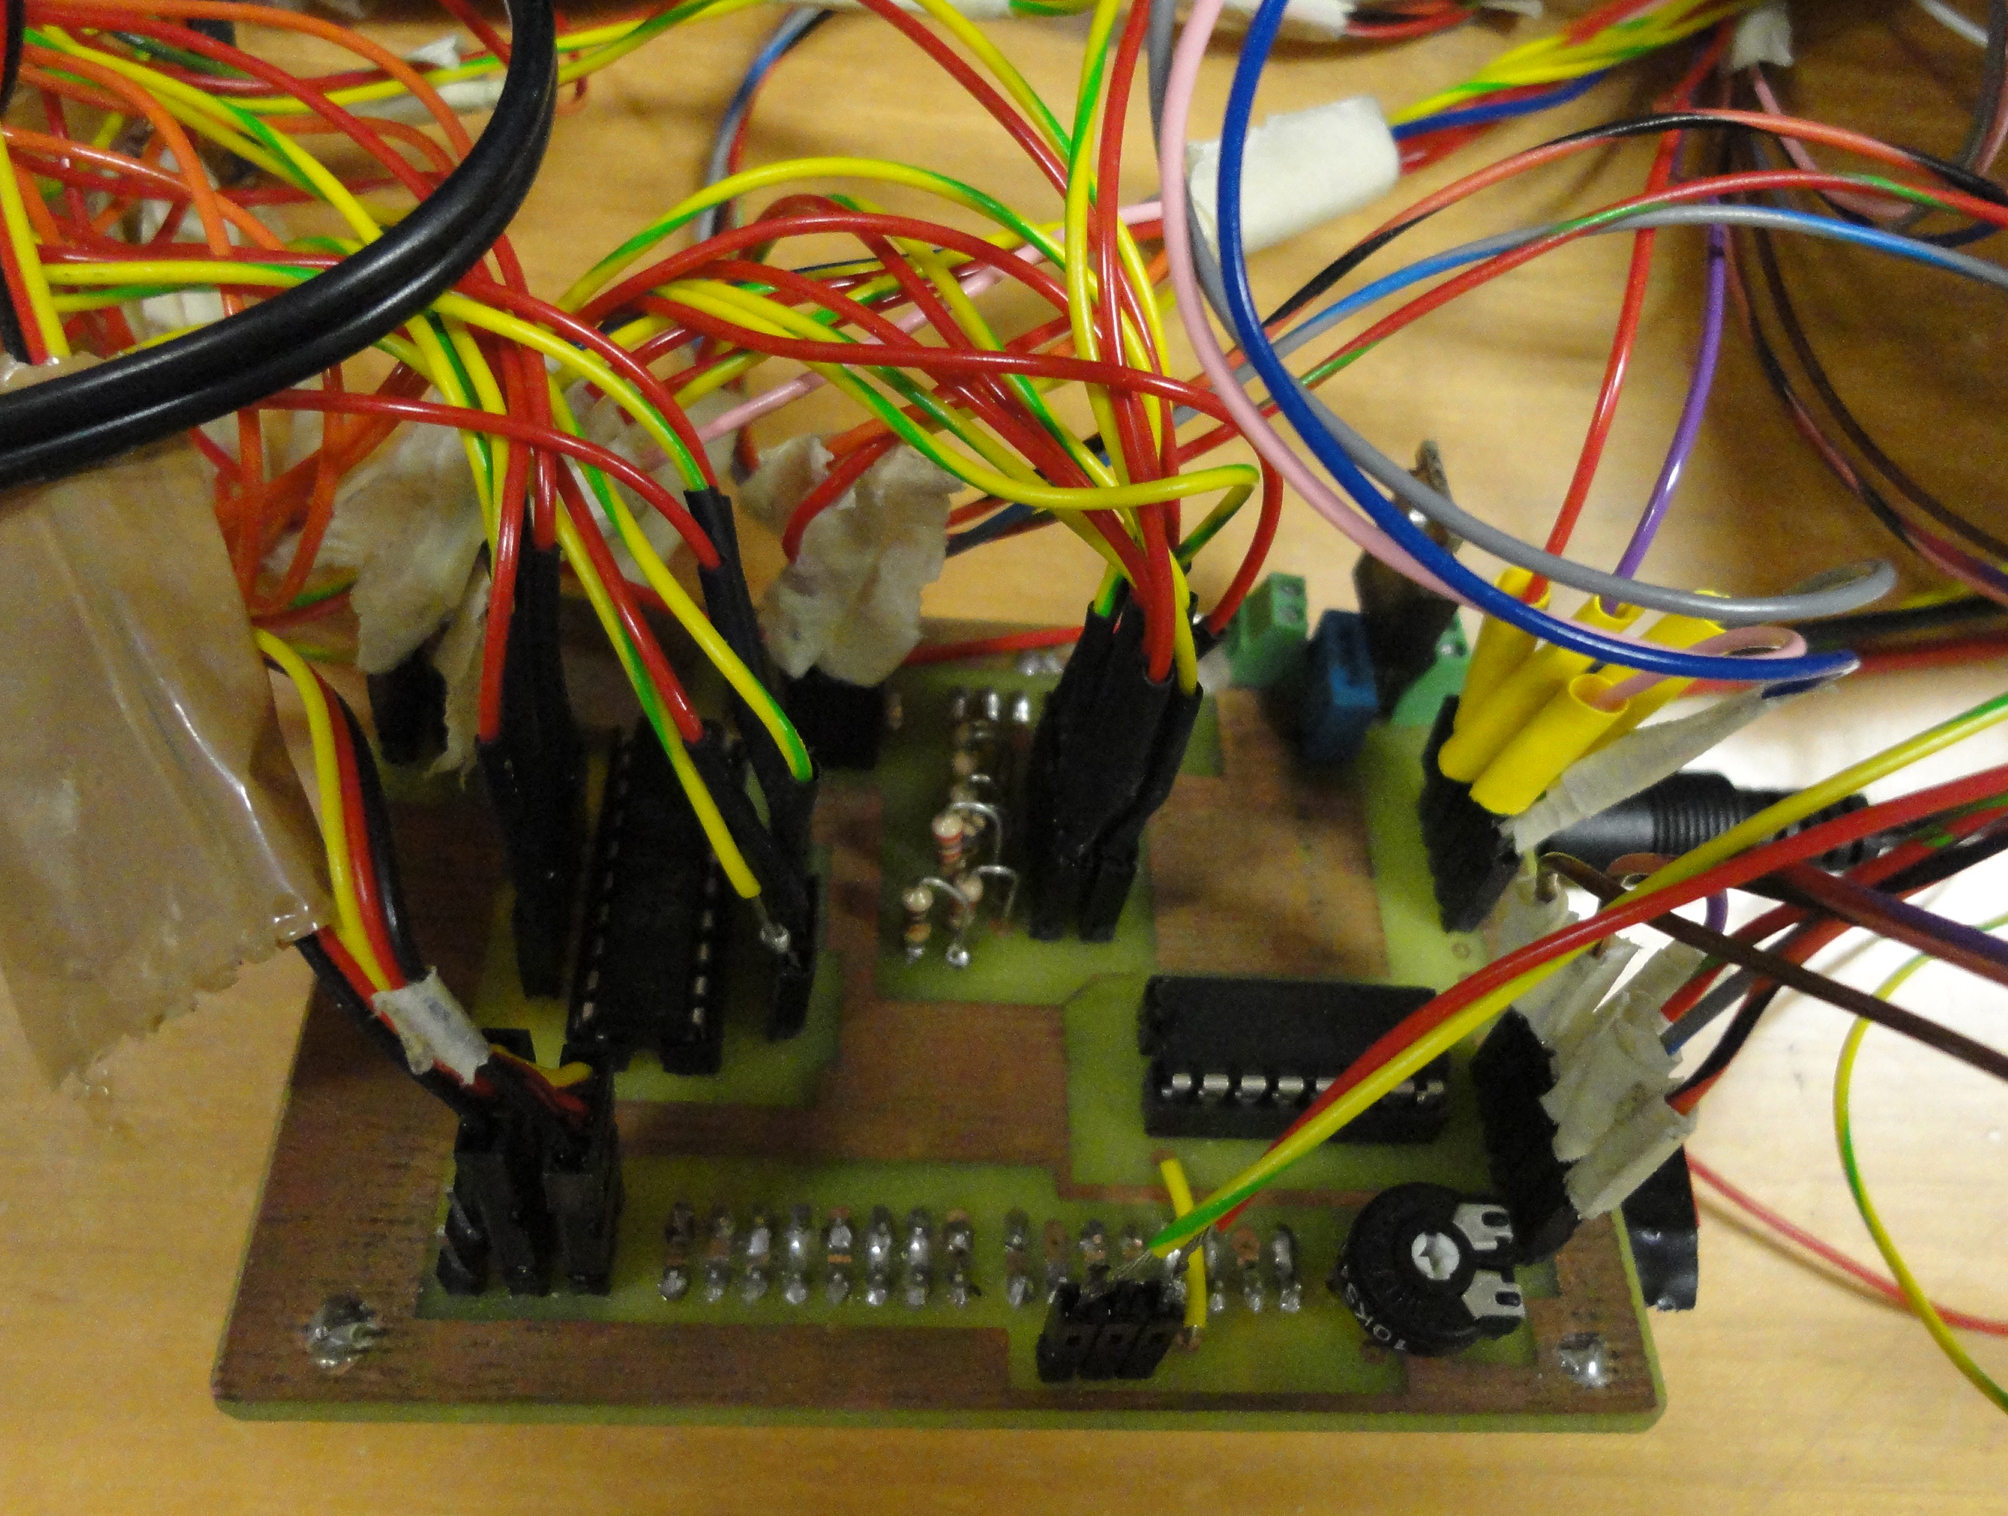
To get all the components and extra electrical components connected together and with the arduino we designed a PCB with traxmaker. The PCD is made in a way that its pins perfectly match the arduino pinholes. This results in a compact sandwich like structure.
The electrical devices needed for the project are listed underneath:
- LCD screen (instruction and motivation)
- 3 potentiometers and 2 buttons to get the right settings
- 6 Bi-Color LEDS indicating which finger should be pressed
- 3 servos to get the desired spring tension
- 6 buttons to detect a good exercise
As one may see, we have way to many components and required pins compared to the 14 available pins
To deal with this problem we used some tricks. The LCD wiring was reduced to 3 pins by using an extra shift register chip. To check which button is pressed (and as such check which finger is pressed) we used a voltage divider. When a bi-color led turns red, this indicates that this finger needs to be pressed. After pressing it turns green again. We used an extra NOT chip to create this possibility with 6 pins for 6 LED's.
So far we didnt talk about how we were able to detect the level of pretension on the springs. The idea is in fact simple. We decoupled the potentiometer inside a cheap servo, took the wires out, and reconnected these wires to a linear extern potentiometer. We erased some plastic material to make sure the potentiometer is able to turn a full turn. The linear potentiometer was then fixed to the springs and like this, we were able to easily control the springs tension